Show off your pumpkin pics and tells us about the experience.
User avatar
By cyberdman
#6144
Well, I finally had a minute to add my photos to the queue for this year. Here is just a sample of my display and some ZPs:

Image

Image

Image

Image

Image

Image

Image

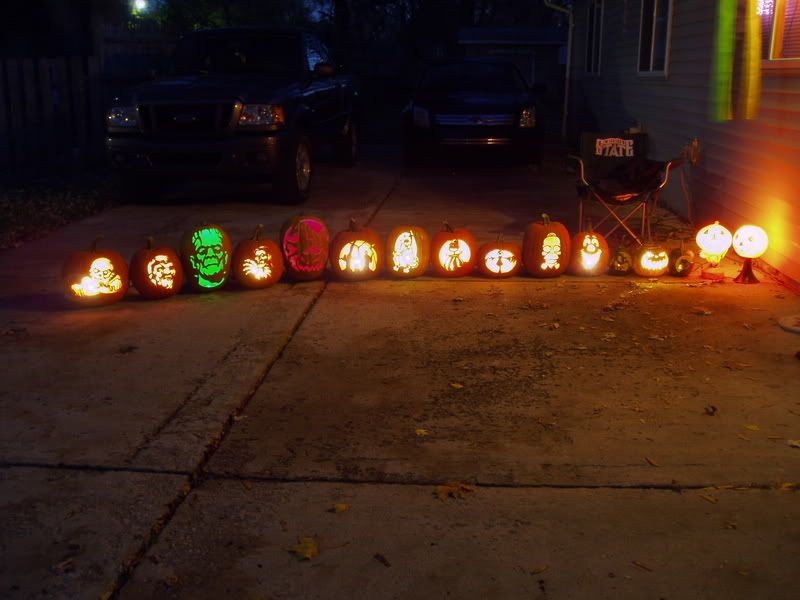
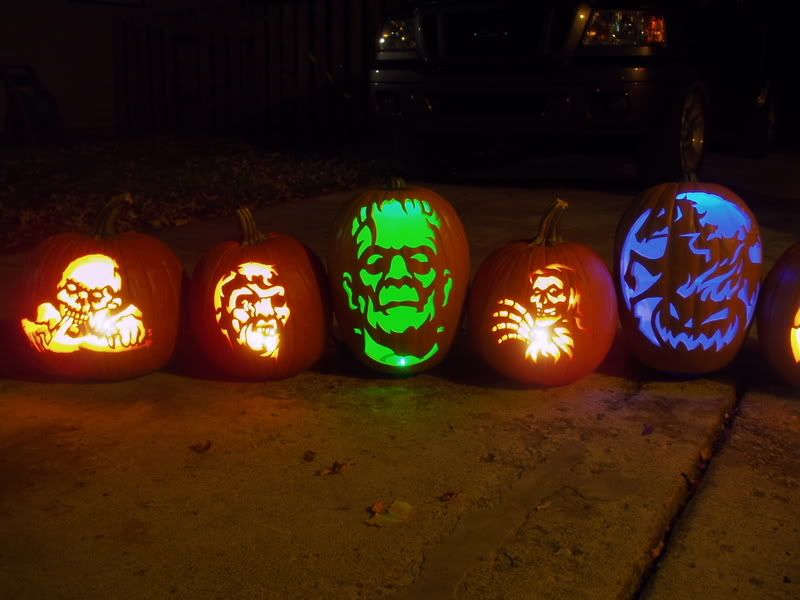
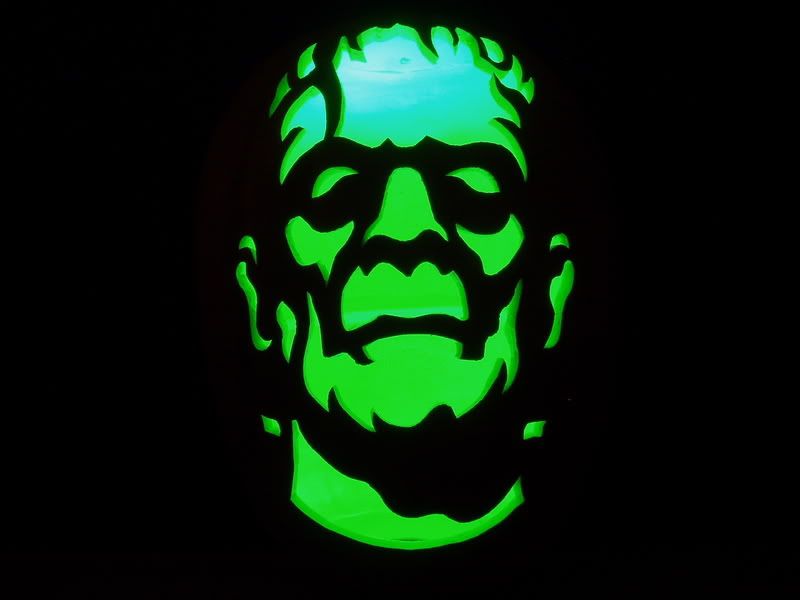
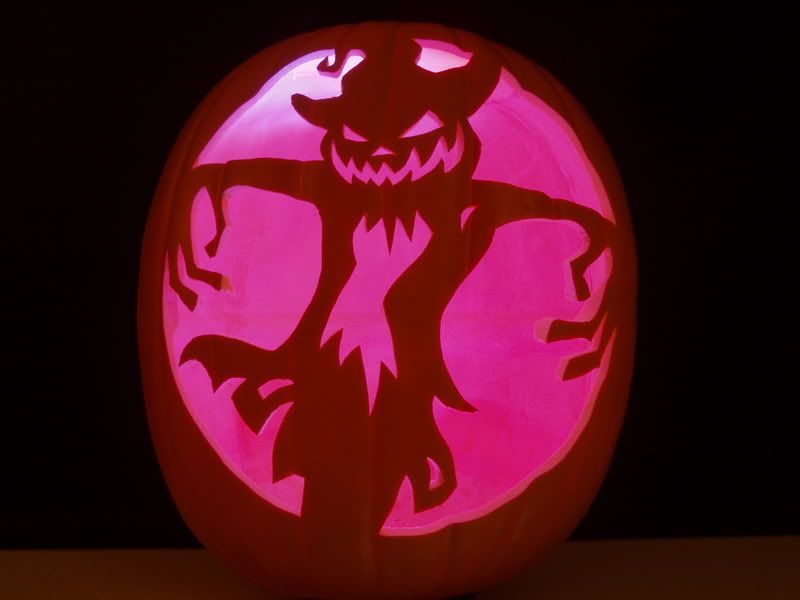
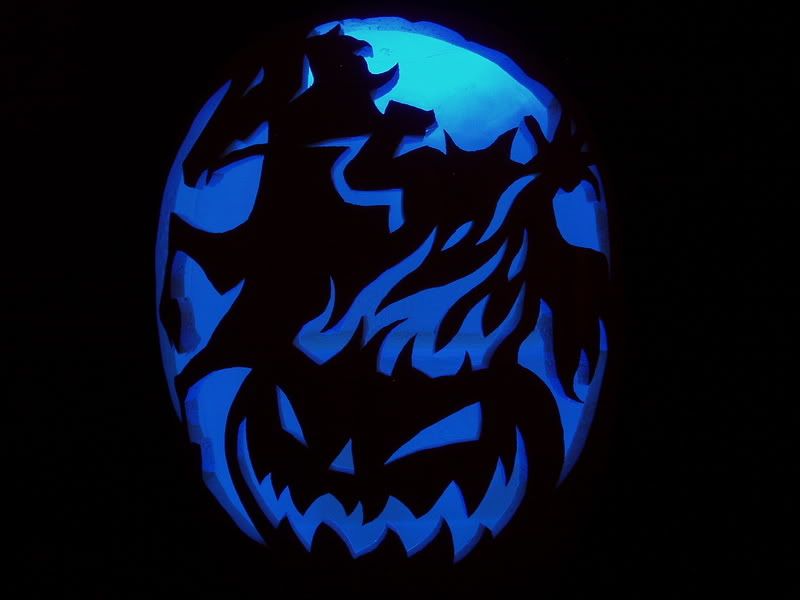
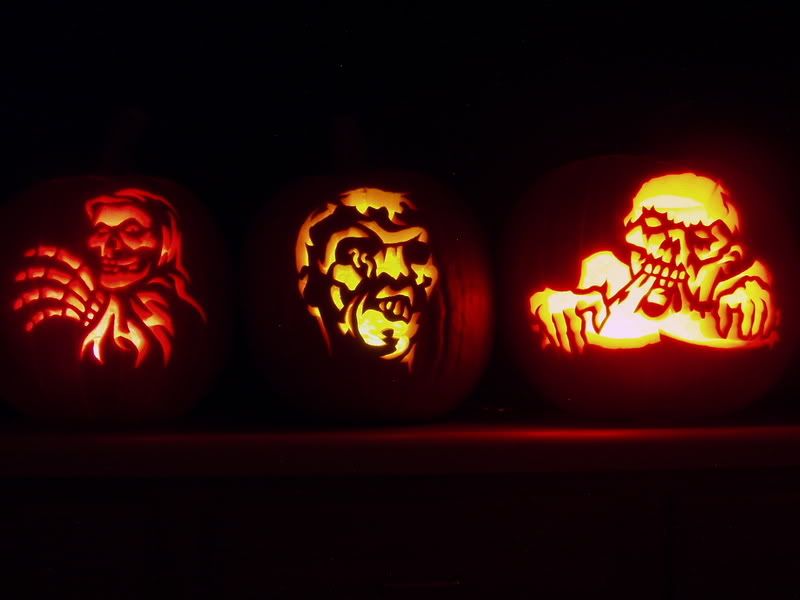
You can see my entire photo album of everything I carved in 2006, plus some other fun pictures of my yard on Halloween night by visiting my photobucket site here. Thanks for looking and I hope you all had a great season.
User avatar
By Tkaraoke
#6148
You did use the "paste and cut" method for transferring patterns to do all of these? One of my main problems with Heads Up was that I couldn't follow the poke holes because there wasn't enough light in the room. I had to take a marker and "connect the dots" to make the pattern come out. I wish I would have had a washable marker instead of my Sharpie(tm).
User avatar
By cyberdman
#6154
Yes. I use my glue stick method. Stick the pattern right to the pumpkin with a washable glue stick. Carve and wash the remaining paper off. It works great, especially on those fake foam pumpkins.
By Flak
#6156
Wow, great display and excellent photos!
User avatar
By shutterbug
#6157
Tkaraoke wrote:You did use the "paste and cut" method for transferring patterns to do all of these? One of my main problems with Heads Up was that I couldn't follow the poke holes because there wasn't enough light in the room. I had to take a marker and "connect the dots" to make the pattern come out. I wish I would have had a washable marker instead of my Sharpie(tm).

I f you use rubbing alcohol on the sharpie marks after you're done, there is nothing left.It cleans them right off with no damage to "the punkin"...FYI...JK :roll:
User avatar
By shutterbug
#6158
Nice display Cyberdman...good shots on the photobucket too!
User avatar
By Tkaraoke
#6170
I'm assuming that Frankie, Patch Master, and Heads Up are on foam pumpkins? Are they Funkins or the Michaels brand?

BTW: Do you completely cover the back of the pattern with the glue?
User avatar
By Tkaraoke
#6203
Also, how did you get the lines to be so smooth???
User avatar
By cyberdman
#6257
Thanks for the kind words everyone.

Yes of all of the fake'kins that I did, only one of them was an actual Funkins brand and that was the Jammin Pumpkins' scarecrow. This one turned out horrible and all the intricate little details broke right off. The results of this carving made it look like it is the first one I've ever done! lol Anyway, it made me furiously angry because those Funkins are terrible to work with because of the way they are made they do not have uniform wall thicknesses which make it very difficult.

All the other ones I did, I did them with the Michael's brand foam pumpkins - I prefer them. They carve great and I have done a lot of them. I carve them with X-Acto blades and that is why they come out so crisp looking with sharp detail.

As far as the glue method goes - cut out the stencil from the page and most of the surrounding paper and apply glue / glue stick to the enture back surface. Next, press it really good onto the pumpkin making sure you fill in all the gaps and surface dips. Allow a short time to dry (for the gluestick method I can usually start carving less than 10 minutes after I stick it on) then carve away.

Usually, I will re-size a stencil to maximize the carving area. I'll scan it in and resize according to how much area I have. The Frankenstein I did was HUGE! I resized it and had to print it over 2 sheets of paper and assemble it back together before I glued it back on the pumpkin. The stencil ended up being 14" tall! It came out great and on Halloween night you could see him lit up from the next block away.